Assign Buttons
The Alerts/Screen Pops you receive for Inbound Calls and other purposes include a set of Assign Buttons. Here’s a quick reference to the purpose of those Assign buttons in the screen pop:
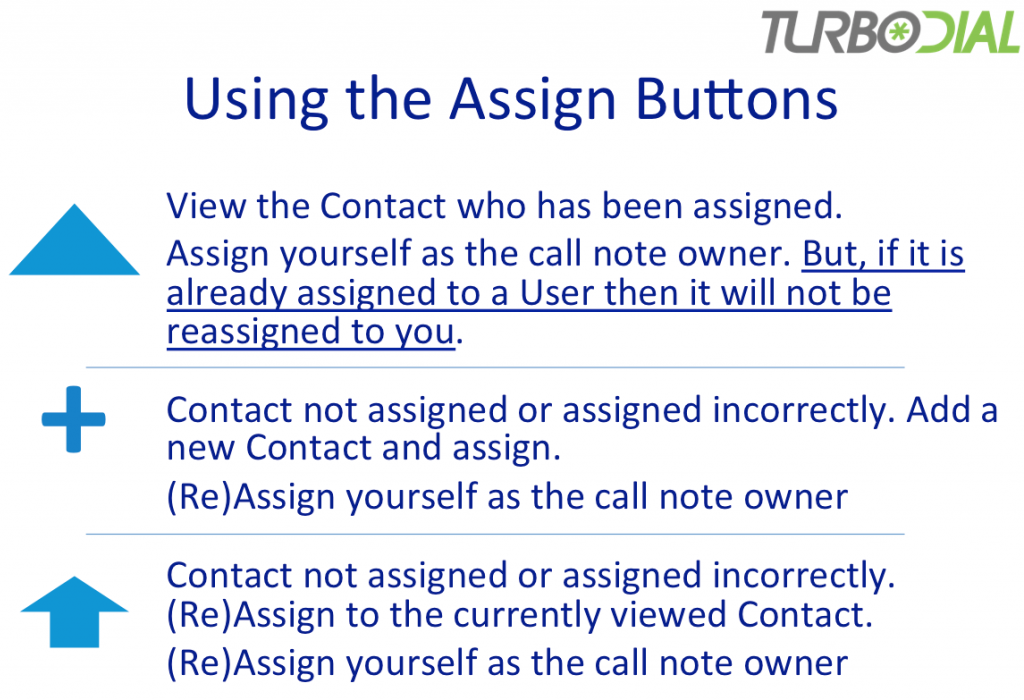
- Blue Triangle: View. Click this button to view the Contact who has been assigned. Assign yourself as the note owner. But, if it is already assigned to a User, then it will not be reassigned to you.
- Blue Plus sign: Add. If the note is not assigned to a Contact (or assigned incorrectly) and the Contact does not exist, then click on this Add button to create the Contact, install the caller’s phone number in the Phone 1 field, and assign the note to that new Contact. The Add button will also assign yourself as the note owner.
- Blue Up Arrow: Re-Assign. If the note is not assigned to a Contact (or assigned incorrectly) and the correct Contact does exist, then click this Re-Assign button to change assignment of the note to the currently viewed Contact. (The caller’s phone number is NOT installed in any field of the Contact record). The Re-Assign will also assign yourself as the call note owner.
Please note. The Assign Buttons can change the owner assigned to a call note record. However they will never change the owner of the contact record.